Phone Hours
Monday–Friday 8:30am–8pm EST
Saturday 8am–3pm EST
Sunday Closed
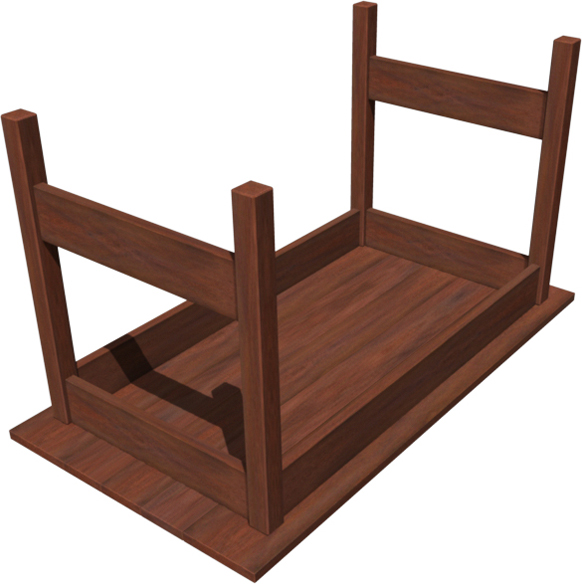
This table can be used both indoors and outdoors!
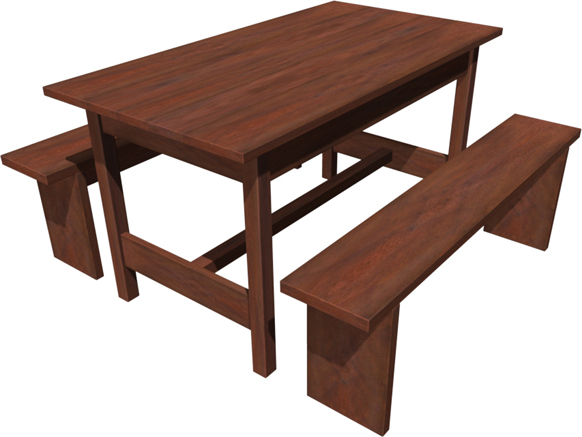
Your little ones will love this adorable free standing kid's table. Perfect for eating, coloring, doing homework, reading, socializing or playing fun games.
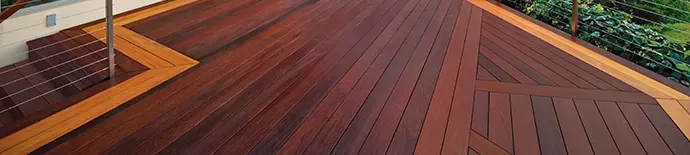
Ipe is beloved for its beauty and superior strength qualities. Unlike plastic or metal tables, Ipe is the wood we recommend for this project. It is highly resistant to temperature changes which helps it stay at a comfortable temperature on even the hottest summer days. If you prefer, you can build this great table from any of our other hardwood options. Feel free to call to order the wood for this project!
TABLE |
||
| Part | Quantity | Dimensions |
| Legs | 4 | 2" x 2" x 21" |
| Aprons | 2 | 1" x 4" x 16" |
| Long Aprons | 2 | 1" x 4" x 32" |
| Stretcher | 2 | 1" x 4" x 16" |
| Stretcher (Legs) | 1 | 2" x 2" x 32 ½" |
| Table Top | 3 | 1" x 4" x 40" |
| 2 | 1" x 6" x 40" | |
BENCH |
||
| Part | Quantity | Dimensions |
| End Planks | 2 | 5/4" x 8" x 12" |
| Brace | 1 | 1" x 4" x 32" |
| Seat Board | 1 | 5/4" x 8" x 40" |
TO ORDER: |
||
| Lumber | Quantity | Order |
| 1" x 4" | 4 | 4 feet |
| 1" x 6" | 2 | 4 feet |
| 2" x 2" | 2 | 4 feet |
| 5/4" x 8" | 1 | 6 feet |
| 2" Pocket Hole Screws | 100 | |
Cut four lengths of 2x2 at 21 inches each for the legs. Also cut four lengths of 1x6 at 16 inches for the aprons and stretchers.
Long Apron: 1x4x32. From the end measure 4", 10", and 16". Do the same from the other end as well.
Short Aprons: 1x4x16. These are the ones on top. Go to step 3 for more details where to drill pocket holes.
Stretcher: Drill two pocket holes on the sides.
Lay the four parts (2 legs, 1 apron, and 1 stretcher) on the work table. Place a 1x4 scrap under the stretcher and apron to make sure they are not flush with the legs.
The bottom stretcher should be placed 4 inches from the bottom of the legs. Use clamps to hold the parts together, and drill them into place.
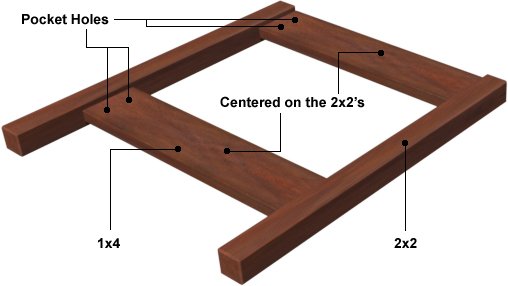
Use the two 1x4x40 aprons to connect the two table ends. Drill pocket holes into the aprons at 6", 12", and 16" from either end, and two holes at each end to connect the legs.

The table top is made of 1x6's and 1x4's. Decide which surface looks best and use that as the top.
Lay the table top pieces top-down on the workbench, with the two 1x6's on the outside and the 1x4's in the middle. Flip the table base upside down and place it on the table top. Mark the positions for the pocket holes screws, fasten the parts into place.
Finally, attach the 2x2x32 stretcher to the bottom of the base to act as a footrest.
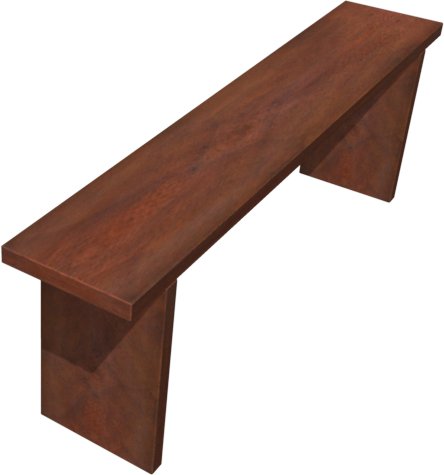
The two end pieces for the bench can be cut into any pleasing design, as long as it remains sturdy enough. Connect the end pieces using the 1x4x32 brace. You can either drill pocket holes of just install screws from the outside.
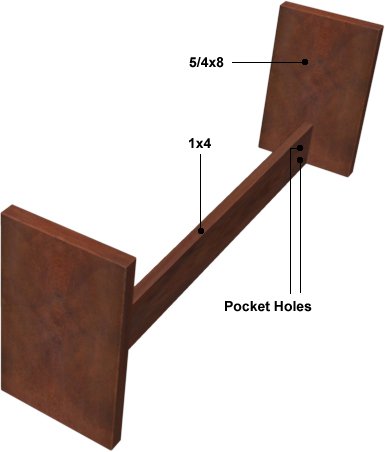
Flip the assembly over and attach the 5/4x8 seat board to the braces.