Phone Hours
Monday–Friday 8:30am–8pm EST
Saturday 8am–3pm EST
Sunday Closed
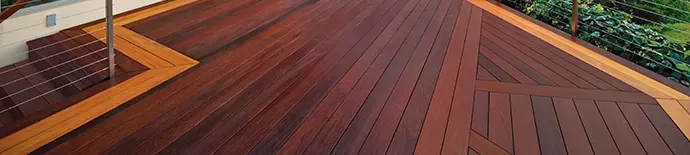
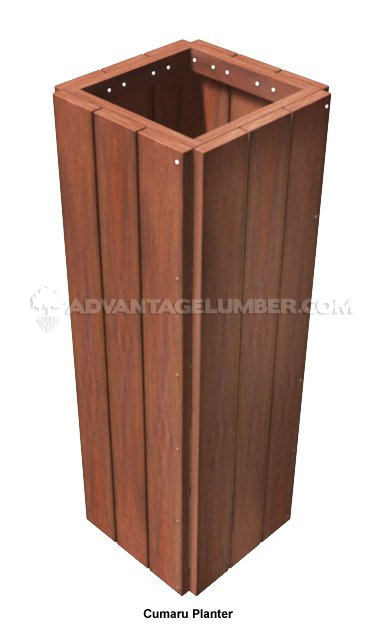
Tired of looking at just wood on your deck? Add color and personality to your deck, lawn and patio with your very own custom made hardwood planter boxes!
There are many uses for the exotic hardwood decking offered by Advantage Lumber, LLC. A fast and easy way to add life and personality to your deck is to build a planter box using any of our exotic woods like Ipe, Cumaru and Tigewood. These exotic woods are ideal for this type of project since they provide outstanding endurance and rich beauty unmatched by other woods and planter materials.
Where to begin? Don't worry; Advantage Lumber, LLC is here to help. The following How to Build a Planter Box Guide is easy to follow at the end you will have a nice, contemporary planter with linear design, an element that will give a unique personality to your yard. You'll spend little time putting it all together and will have fun doing it.
Download Printable PDF Instructions
*Call 1-877-232-3915 for special pricing on Cumaru & Ipe cleat material.
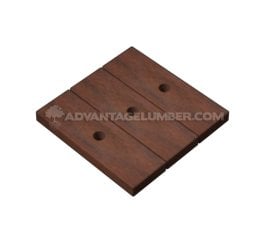
To build the side panels you will need to use 12 pieces of 1x4x3 decking (1 inch x 4 inches x 3 feet long). If your panel pieces are too long, you can cut the parts with a table, circular saw, or a jigsaw.
To build consistently shaped panels, lay three panel pieces on top of solid platform (e.g., a work table, or solid piece of plywood). In between the side panels, place 1/8-inch spacers. One method you can use to hold the panels in position is to fasten to the plywood a couple pieces of scrap wood on either side of the first and last panels.
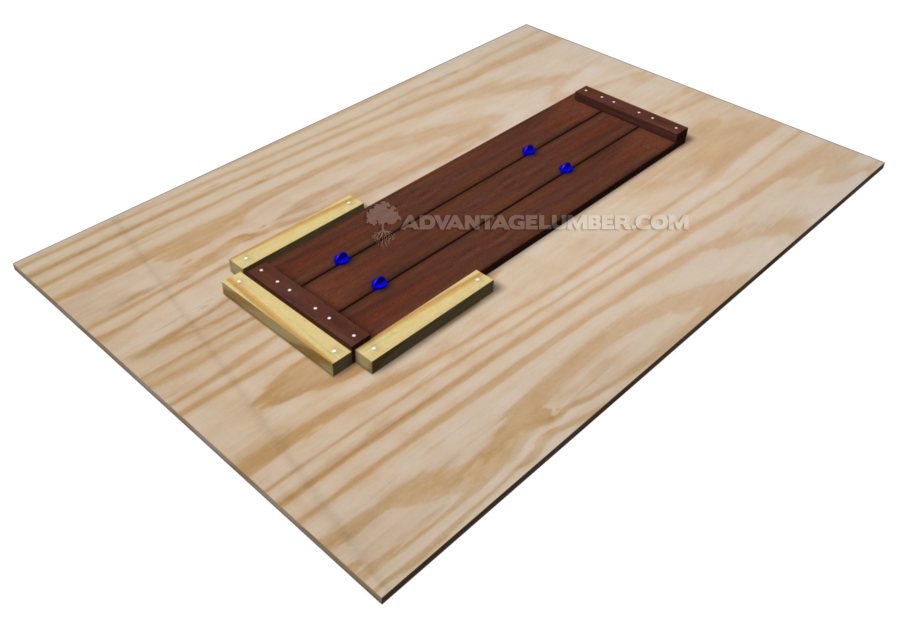
The planter box cleats must be cut 3/4” shorter than the length of the finished panel. This will allow enough space to mount the adjoining side and fasten it to the panel side to provide support.
To hold the panels together while you fasten, use a band clamp. Then predrill a 1/8” pilot hole. Next, drive stainless steel deck screws through the upper corners of the planters.
OPTIONAL: If you don’t have a band clamp, a helper will be handy at this time, helping you holding the panel while you fastened it.
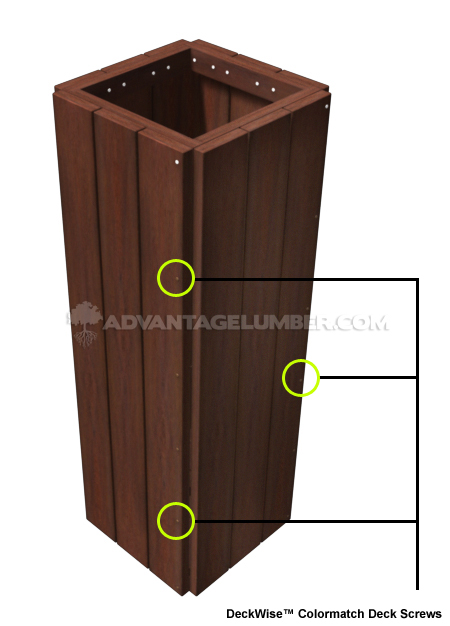
Choose one corner of the planter, and then drill a series of 1/8” pilot holes along that corner. Then drive colored head decking screws into each hole. Don’t drive the screws into the adjacent panels yet.
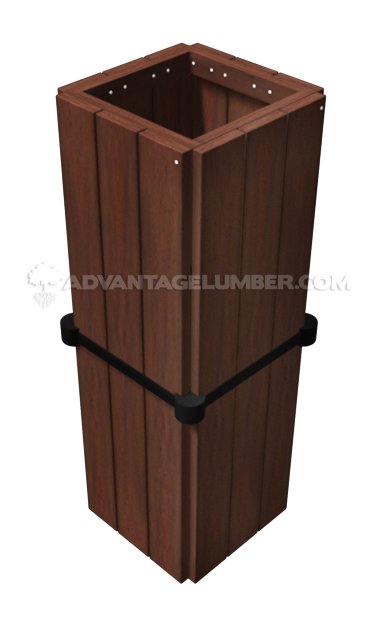
Remove the clamp and the screws; apply exterior construction adhesive or a strong wood adhesive like Gorilla glue to the joints. Next reassemble the box with the screws, and drive deck screws into the panels.
OPTIONAL: If you don’t want your planter to have any visible screw heads, you can follow these instructions. Use a 1/8" drill bit with a 3/8" countersink to pre-drill a hole for the initial corner driven screws. Then, drop a dab of Gorilla Glue into the countersunk hole. Next, insert a 3/8" Tapered hardwood plug into each countersunk hole. After the glue has set, remove any protruding part of the plug with a small saw or belt sander.
Measure and cut three more pieces to form the bottom of the planter and screw them into place. Bore a series of holes at the bottom for water drainage.
In addition to all the above steps you can cover the interior of the planter with some thick plastic, this to avoid that wood rotten. Don’t forget to make holes in the plastic too and where the drain holes were made you can install a mesh to keep the dirt inside of the container.
The best step of all. Sit back and enjoy your handy work! That’s all it takes to build planters in an afternoon. A planter box made with Ipe, Cumaru or Tigerwood will help you add a homemade decorative element to your deck, lawn and garden that breaks up the monotony, enhances visual interest and makes your deck an even better outdoor oasis for you and your loved ones.
Congratulations!
Download Printable PDF Instructions
 |
 |