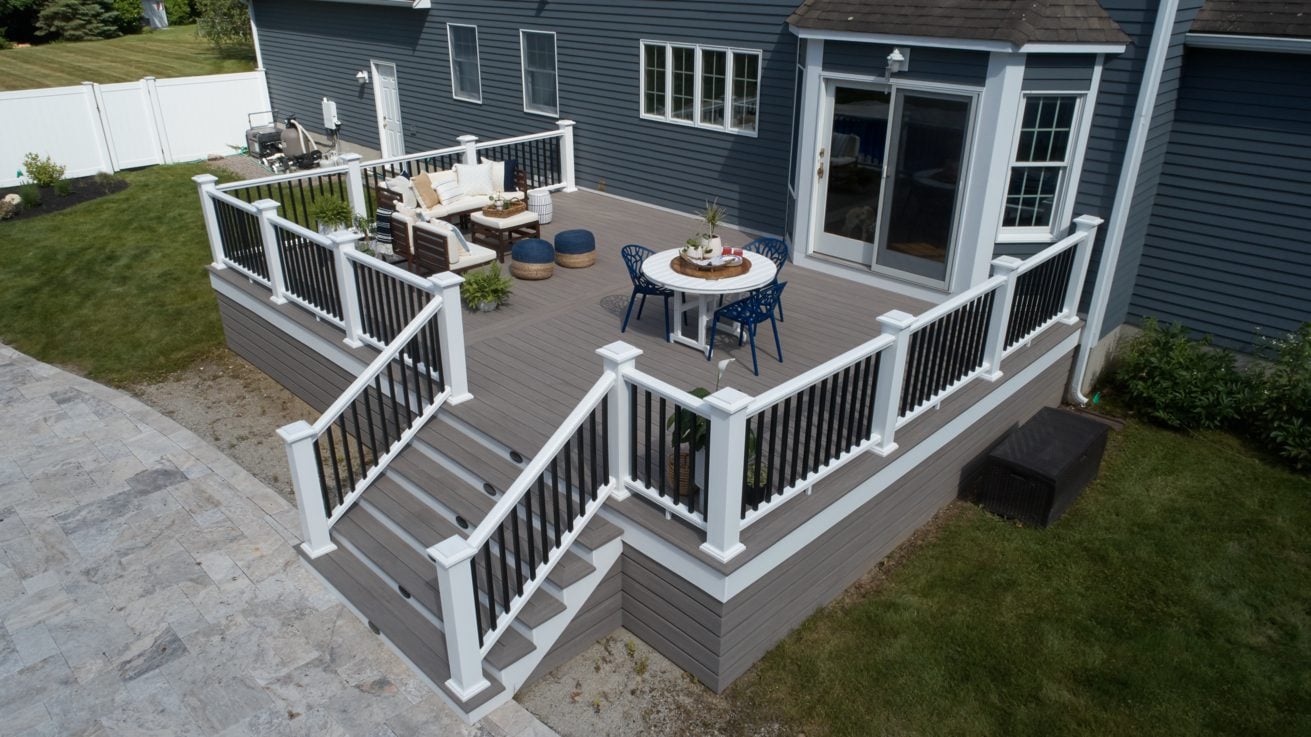
How to Attach Railing Posts to Existing Deck
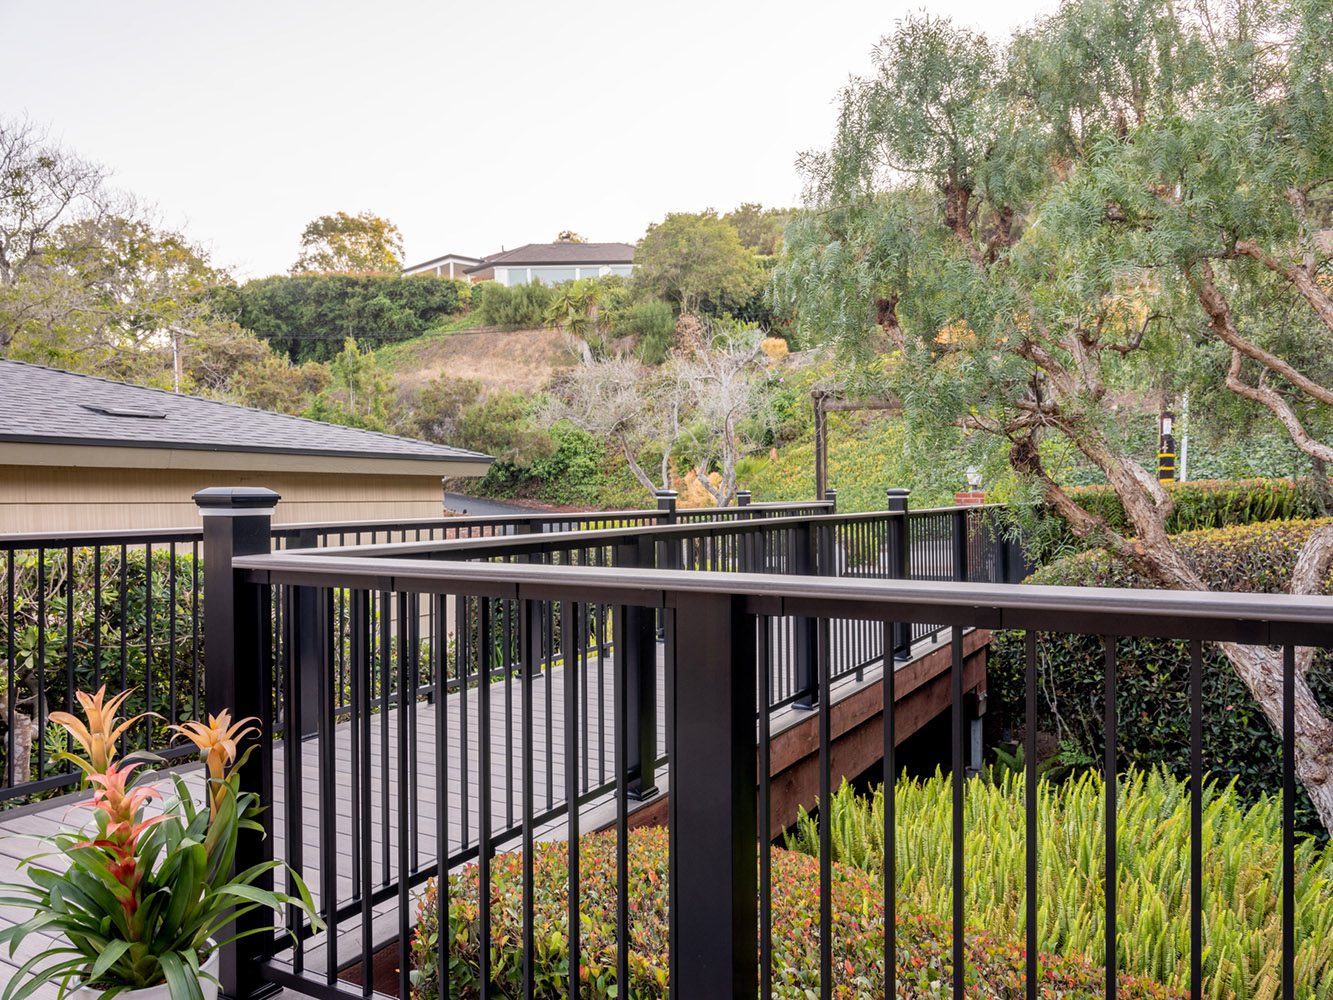
Attaching railing posts securely to an existing deck is essential for safety and stability. Here are step-by-step instructions for two methods to achieve this, catering to different preferences and skill levels: Method 1: Recessing Posts Through the Deck This method involves cutting through the deck boards and fastening the posts directly to the joists beneath. …