Interior Shiplap Installation
Easy to follow installation instructions for shiplap products from Advantage Lumber, LLC.

Prior to Installation
Always check with local building codes and an architect prior to constructing. Follow all building codes that apply in your area. Since there are many different variables one can encounter on an installation project, it is your responsibility to test the material for suitability for your project prior to constructing. Follow all manufacturers' installation instructions for the individual products used on the project. If any building codes or manufacturers installation instructions contradict or differ from information provided by AdvantageLumber.com, contact us for written clarification prior to starting your project.
Storage and Handling:
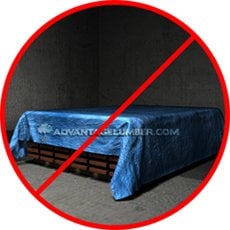
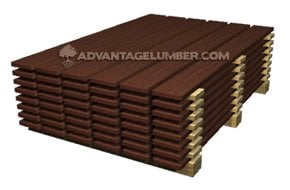
Shiplap boards should be allowed to sit where it will be installed for 7 days prior to installation in order to get acclimated to your local temperature and humidity levels. DO NOT store the shiplap directly on the ground, or directly on top of a concrete surface. DO NOT store the material for more than 30 days prior to use without first consulting with a sales rep at advantagelumber.com that your storage conditions are optimal. The shiplap should be elevated at least 12" off the ground during acclimation. To ensure the bottom boards are well ventilated, place the shiplap on top of blocks of wood. DO NOT cover shiplap material with plastic or a tarp during this acclimation period. Covering with a tarp/plastic will trap moisture in and cause stability issues. Also keep stickers (or wood shims) between layers of boards to allow proper air flow (see image below). DO NOT store the material in a garage or over any other concrete surface.
How to Install Shiplap
Every project is unique. To ensure your shiplap installation goes smoothly and is long-lasting, we've provided a set of general guidelines to help you. Remember, these are guidelines only. Please consult your local building codes, or a professional installer in your area. Consulting your local building department, or HOA prior to starting exterior renovations to either a residential, or commercial building should be a required step prior to installation. If you have any questions about this How-To Install Wood Shiplap guide, give us a call. We'd love to help.
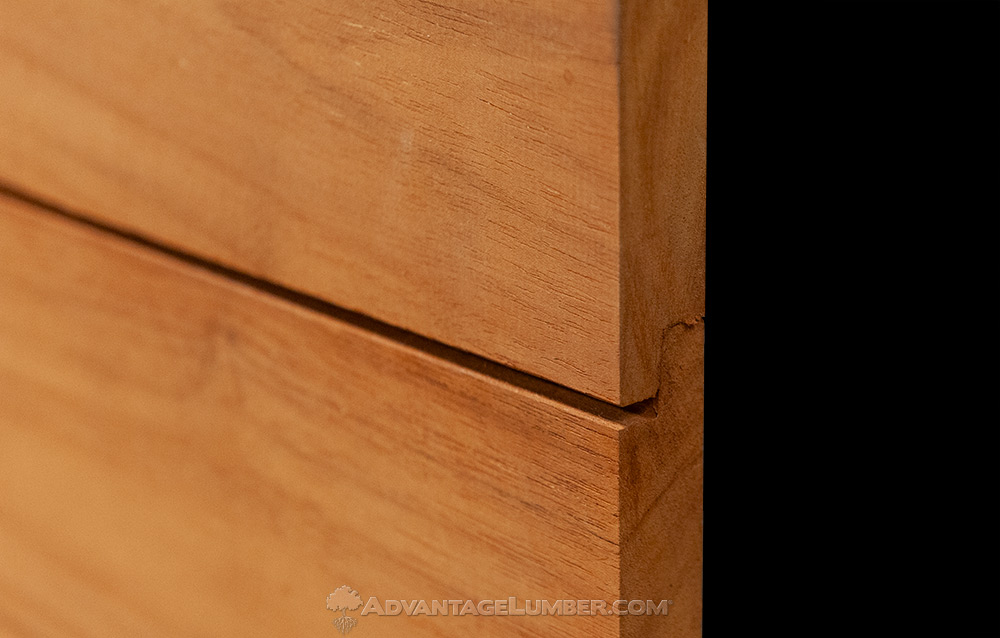
Shiplap Installation Pictures
 |
 Shiplap Face |
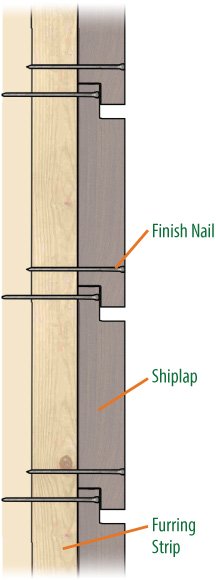
Shiplap Installation Guide
- Attach 3/4" furring strips every 16".
- Start at the bottom of the wall... To start the installation of a shiplap board use a finish nailer and drive a 2" finish nail through the bottom of each board into the furring strips. This will secure the bottom half of each shiplap board.
- Next drive a 2" finish nail through the narrow part of the shiplap board that protrudes against the wall on the top of the board.
- Repeat the above steps for the rest of the shiplap boards up the wall.
Please CONTACT US if you have a specific request.
Allowable Shrinkage:
When installing Shiplap, install each board as tightly as possible to leave the smallest gaps between them in case shrinkage occurs. Average shrinkage is 1/8” on 4” wide boards and ¼” on 6” wide boards. Shrinkage varies depending on climate, installation site, and method of use.
Cutting & Drilling:
Due to the very hard nature of Shiplap, premium carbide tipped saw blades are recommended for cutting. Brad point drill bits or fostner bits provide cleaner holes than standard HSS twist bits.
***IMPORTANT DISCLAIMER***
You must contact your local building department before you begin designing your project. Your local building department (and/or Homeowner Association) will inform you of any zoning ordinances and buildings codes that specify where and how you can build. You are responsible for applying for and obtaining any and all required permits for your project.Advantage Lumber, LLC provides this information as possible suggestions only and will not be held liable for your project's suitability or should you choose not to obtain the required permits, or if you fail to comply with all zoning ordinances and building codes.
Conclusion:
If you have any questions, contact us for written clarification prior to starting your project.
By purchasing material from AdvantageLumber.com, you agree to comply with our Terms & Conditions.