Ipe Decking Photo Gallery
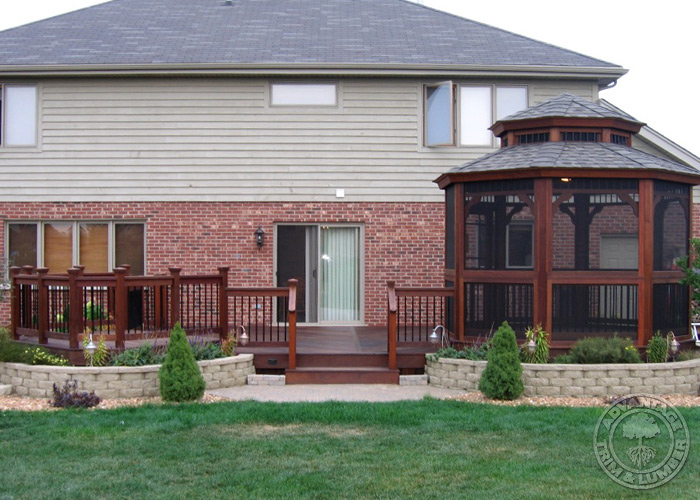
Jason Falejczyk's beautiful Ipe Deck & Gazebo. (In his own words)

Additional Ipe Decking Photos:
Ipe Decking
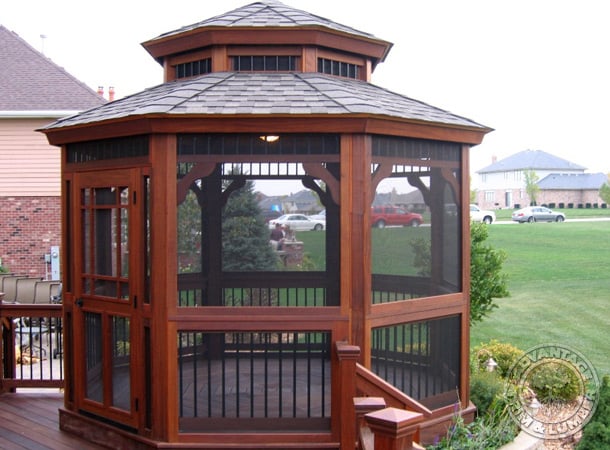
Deck & Gazebo
Deck & Kitchen
Porch Decking
Commercial Applications
Testimonial & Story
A Woodworker Builds a Deck
Editors note... I have been working on this deck for 3 years...on and off. Considering this, I have a lot to say. If you're not interested in the details, skip through all the text and just enjoys the pictures. Also, my apologies in advance to those non-broadband or DSL users...this page takes a long time to load on dial-up.
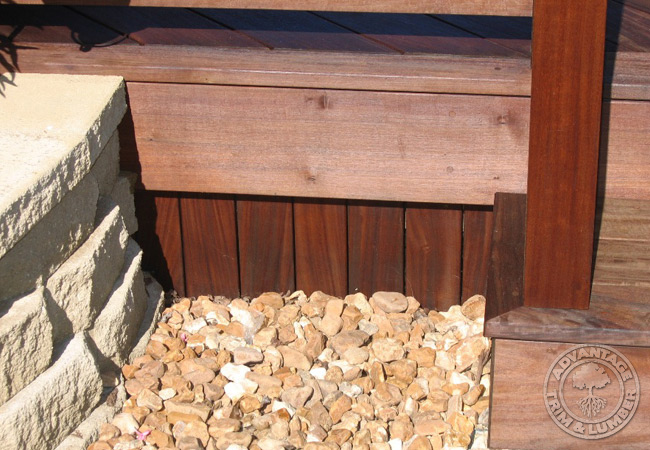
About three years ago I started on a project that would become my largest piece of furniture to date: my deck. Furniture, you say? Yes...I do consider this deck a piece of furniture. It has all the qualities of fine craftsmanship: exotic hardwood materials, tight fitting woodworking joints, and oil-rubbed finish, concealed joinery throughout, and an anal-retentive woodworker behind it all!
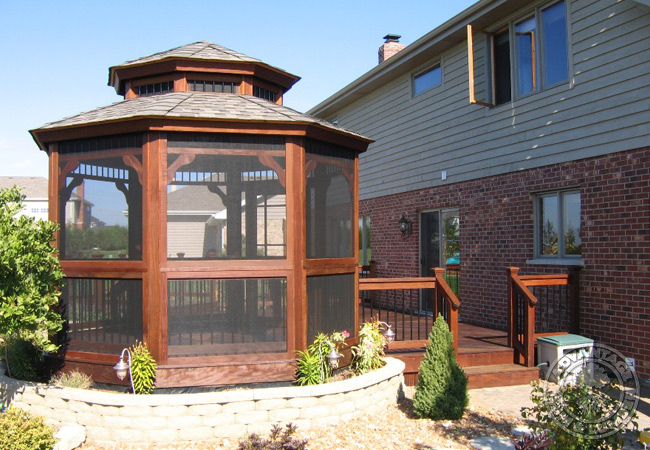
Our house's elevation is not that high. Nine out of ten homes like mine are completed with a poured concrete or brick paver patio. Being a woodworker, I was not about to go that route. I had my heart set on a deck from the beginning. Knowing that I had never built a deck before, I decided to make it simple......NOT! I found out about Ipe on the Internet and never looked back. Composites were never even considered. I don't care for the limitations with composites. With wood you can do just about anything. After doing a lot of research, I decided to buy from Advantage Lumber (www.advantagelumber.com), whom I highly recommend. They're a great company to work with, delivered exactly what I ordered, and made right quickly when damaged boards came on the first delivery.
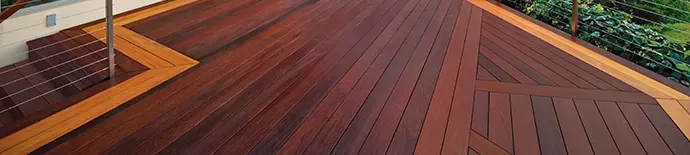
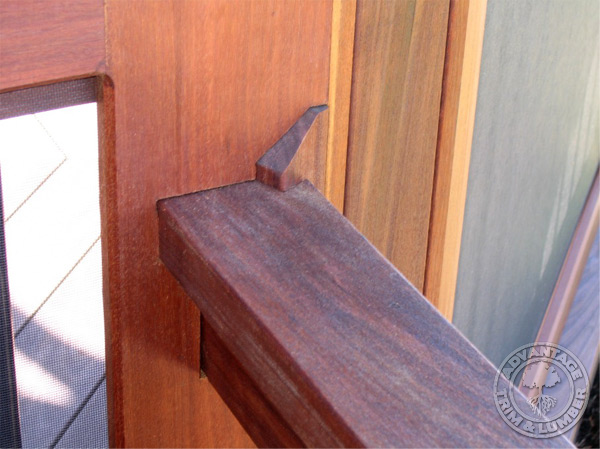
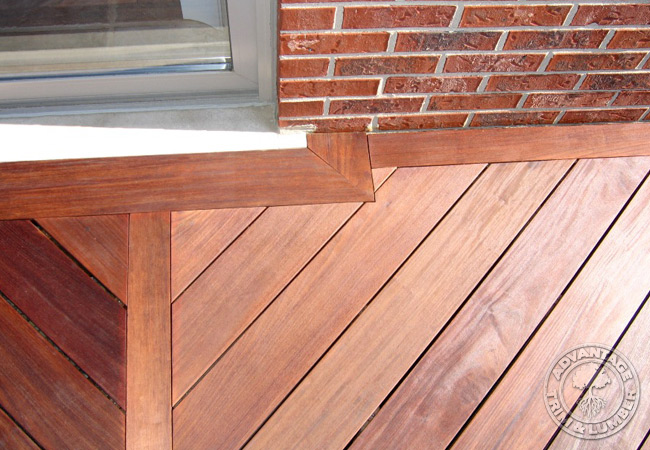
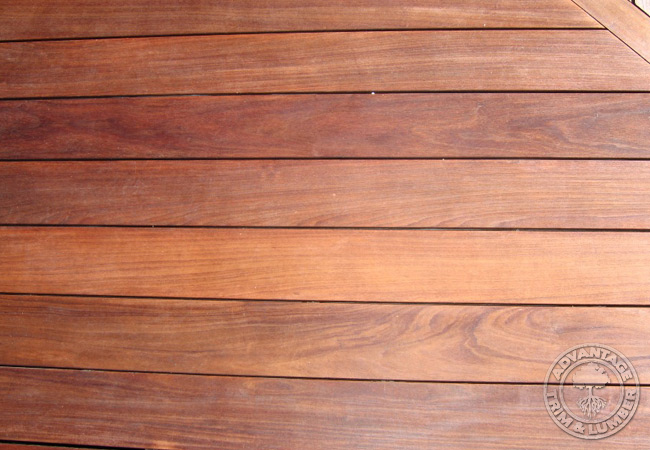
If you haven't heard about Ipe, it's an imported exotic hardwood from South America. It has many trade names like "Brazilian Walnut" or "Ironwood". It's one of the densest, most rot, insect, and fire resistant woods there are...it doesn't even float! It's extremely difficult to work with, but the end product is definitely worth the added effort. Every end-grain cut must be sealed with a wax emulsion. Every fastener must pre-drilled with the correct sized pilot hole. Try and drill into Ipe, or just drill too small of a pilot hole, and you will snap the screw!
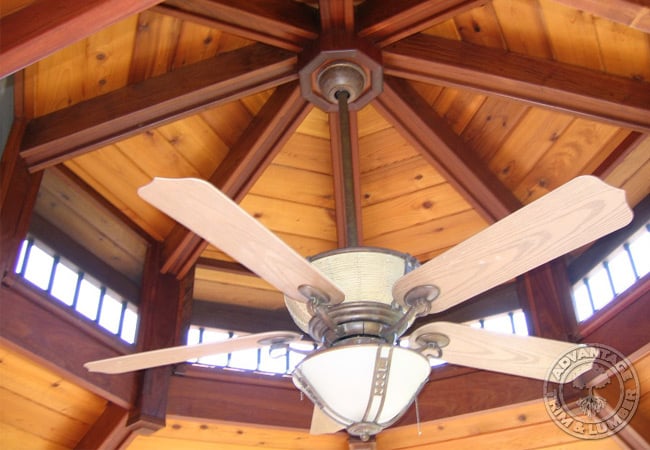
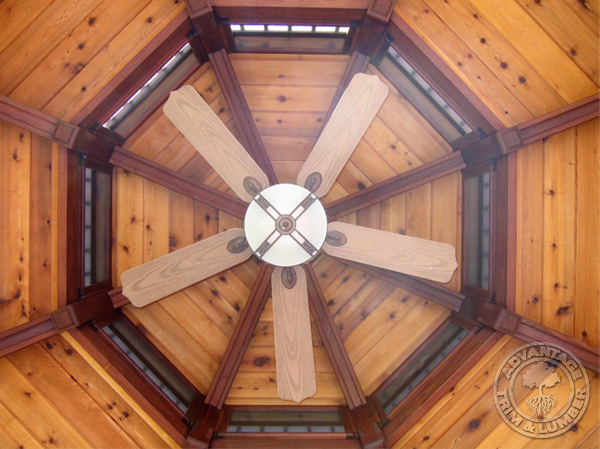
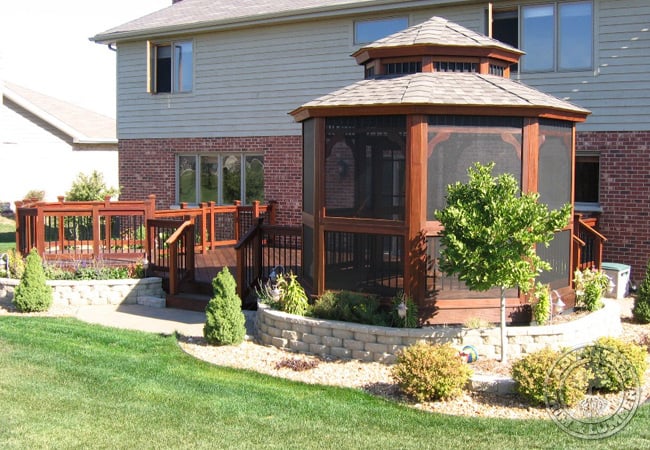
I designed 90% of the deck/gazebo in CAD. This was done more for the ordering side than the actual construction. I wanted to get an exact idea how much wood I would need, and the dimensions, when ordering. This is where the guys at Advantage where very accommodating. The CAD design also came in very handy with the gazebo construction. Let me tell you a little something about Ipe: it does not "give an inch"...it's not forgiving. Everything had to be absolutely perfect in order to come together. You couldn't cut a board a tad off, push it into place, and shoot a nail through. The double-rafter roof is a prime example of how particular the construction must be. In order for the 8 custom built rafters to come together at the top, I couldn't be off at all. It was a real challenge....my hardest to date.
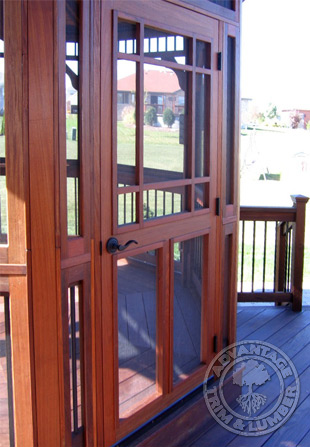
A few quick details about the deck
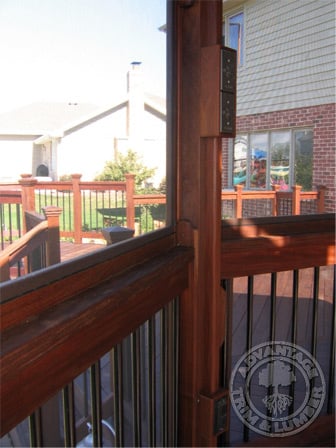
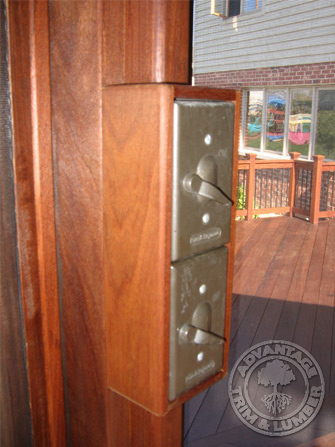
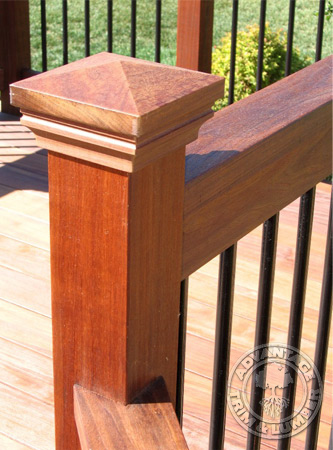
- Entire deck/gazebo secured with concealed Ipe-Clips or countersunk screws with Ipe plugs.
- All stainless steel fasteners....screws, lags, carriage bolts, etc....pretty costly!
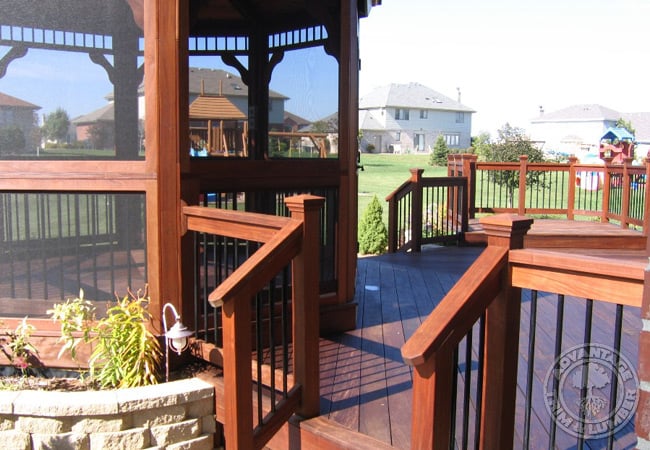
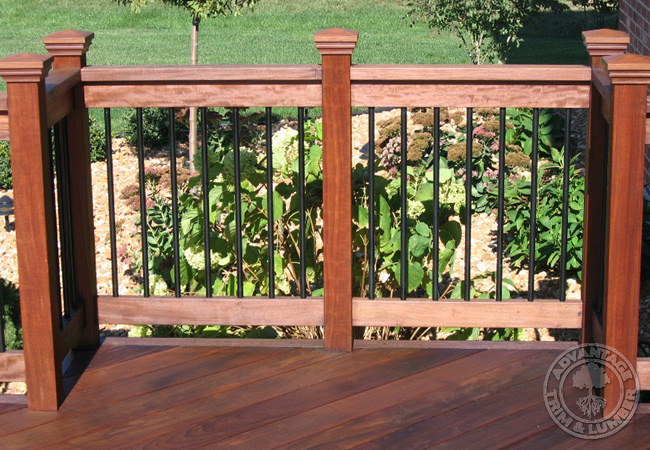
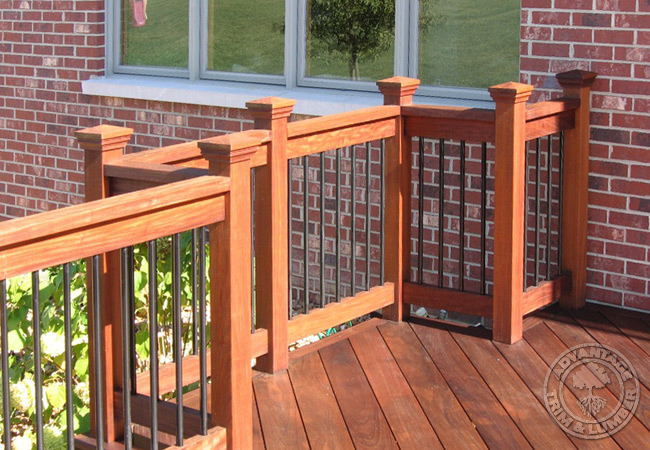
- All railing fasteners hidden as well. Pocket hole joinery used on undersides on railing.
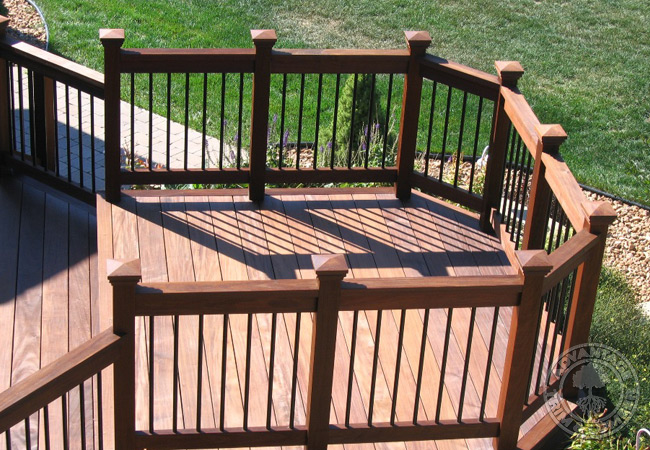
- No maintenance aluminum spindles
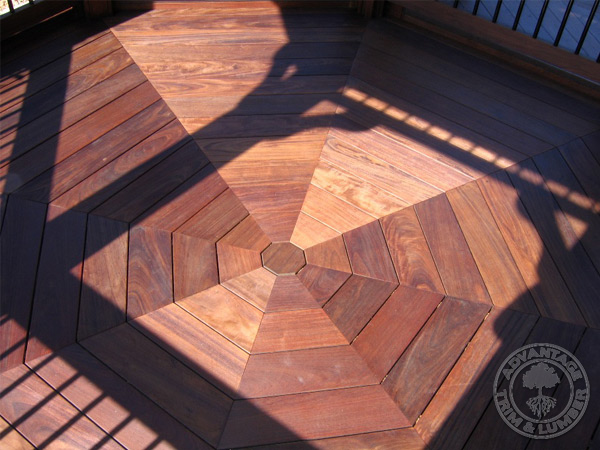
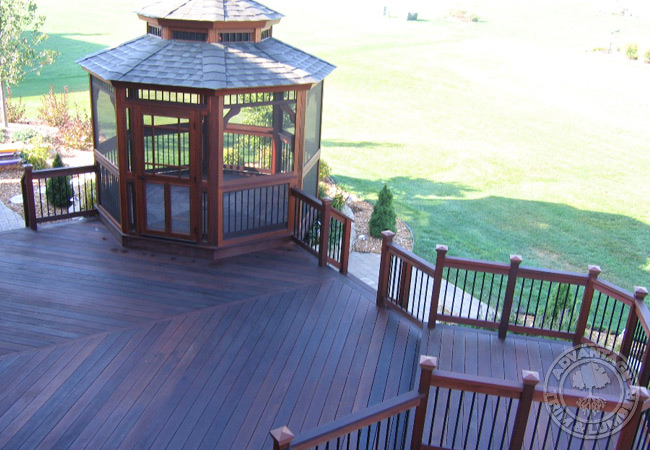
- Picture frame decking
- Finished with Messmers UV Plus for Hardwoods
This Story was taken from Jason Falejczyk's personal woodworking website...
Note to members of the press:
If you need high resolution photography please contact: [email protected] and we will be happy to promptly supply you with our high resolution photography.
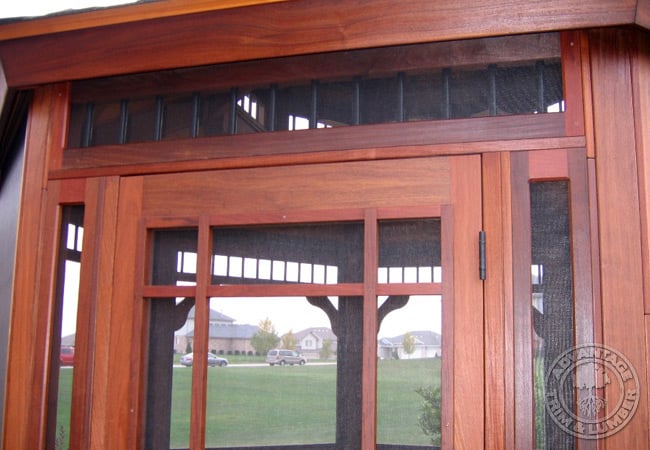
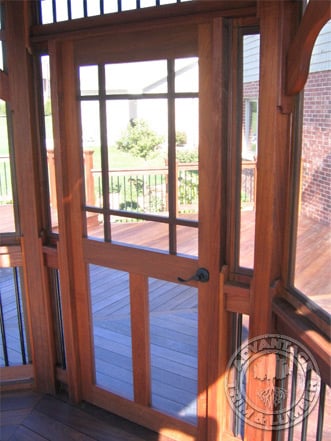
Ipe Gazebo
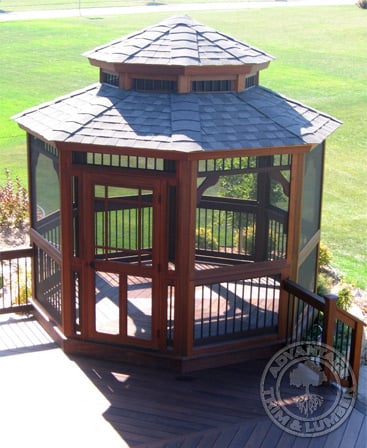
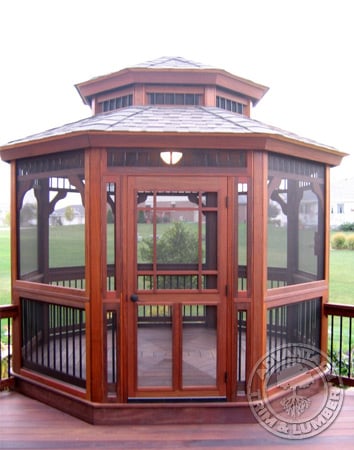
I originally did not have intentions on building the gazebo, until I saw a double-rafter roof gazebo at a friend's house. Knowing that this was my first deck, why complicate it with adding a gazebo, right? I am so happy I went through with it, though. It's my favorite part of the deck.
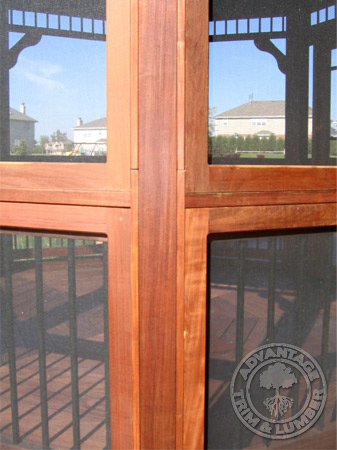
The angles and complexity of the construction just about did me in. In an effort to keep everything perfect, sections were built in production: bottom gates, middle gates, top gates built at the same time to guarantee all were exactly the same size... the pieces for the bottom and top rafters all batch cut and assembled simultaneously.
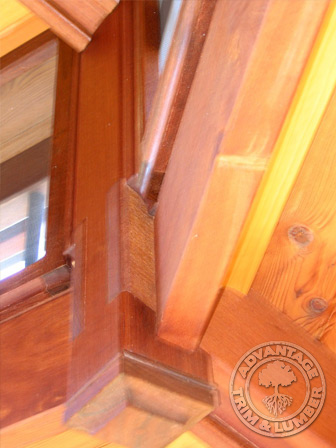
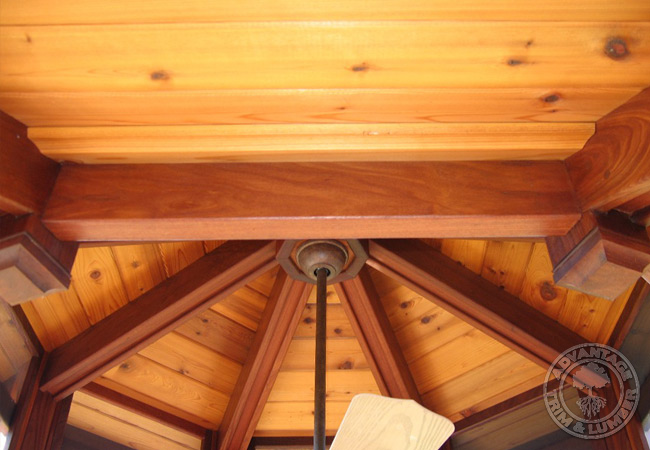
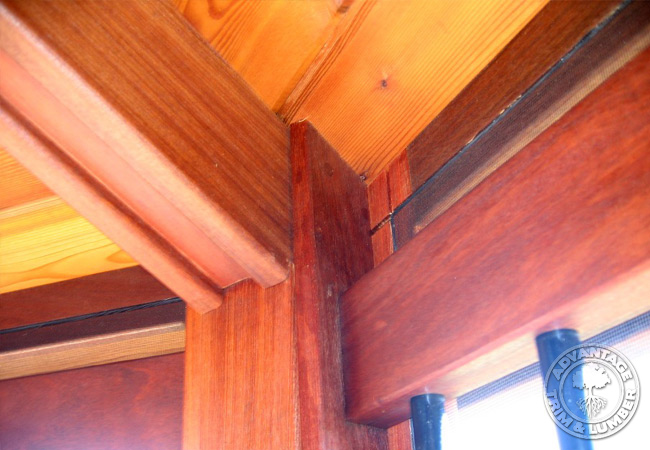
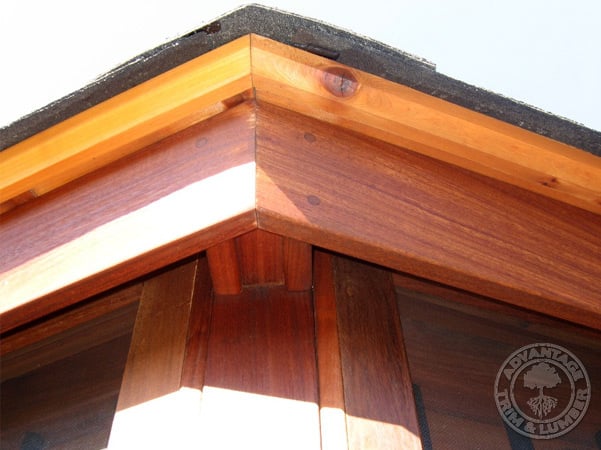
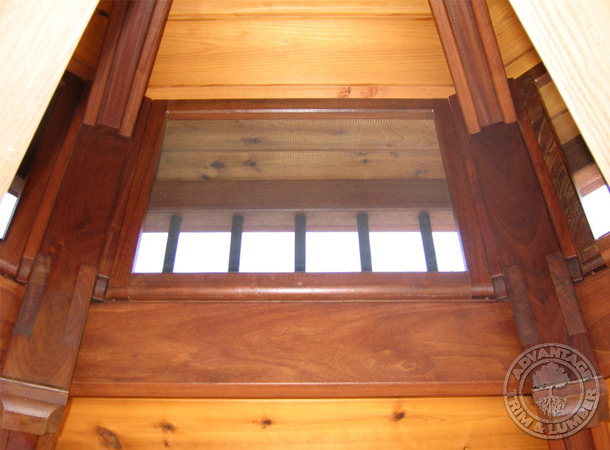
The rafters are u-shaped. Dadoes were cut in the sides to accept the rabbetted bottom piece. The rafters were epoxied and screwed (countersunk and plugged) together. Also, each sides' top was beveled at around 7° before the glue-up. This was done so the t&g roof pieces would sit flush across the entire width of the side. Both ends were then mitered post glue-up.
You'll notice that both the top and bottom rafters are notched over the tops of the 4x4 posts. I could not guess on the location of each notch, and hope it would be correct. Therefore, the roof was raised twice: once with the rafters sitting atop the posts in order to exactly mark the location of the notch, and the second time to finally set it them in place. The sides of the gates extend up the 4x4 posts, meeting the top of the rafters flush. Screws are countersunk through these gates sides into the rafters. Additionally, a 1/2" diameter stainless steel lag bolt in driven down through the center of the u-channel rafter into the top of the 4x4 post. The same process is repeated for the top rafters. All 8 upper rafters are double-bolted to the center king-pin.
This Story was taken from Jason Falejczyk's personal woodworking website...
Ipe Gazebo Pictures
Click on a thumbnail to enlarge
Deck Photos
Click on a thumbnail to enlarge


Additional Ipe Decking Photos:
Ipe Decking
Deck & Gazebo
Deck & Kitchen
Porch Decking
Commercial Applications